Friday, February 28, 2014

Spring is in the air!

Good Morning everyone!! As my title states, Spring is in the air. It's crazy here where I live. The weather has been extremely warm for February and I actually have Tulips coming up!!
Anyway, onto today's Friday Mashup Challenge

Here's the challenge:


Here's your Mashup Challenge:

  1. Create a project that's "Monochromatic".
  2. Create a project with "Flowers".
  3. or Create a "Monochromatic project with Flowers". 

This was a fun challenge for me. I don't use flowers that often, so I really enjoyed making this card.


I loved the pink flowers in the photo above, but when I pulled out my cardstock, this yellow just hit me. I started by stamping the flowers from Flower Shop. I used a technique that is kind of like the Rock 'n Roll technique, only instead of actually rolling the stamp in the darker color, I just used a sponge dauber. Each flower was stamped twice and then put together with a brad (Antique Brads). I finished the card by tying some Crushed Curry chevron ribbon with a little bit of Crochet Trim tucked in there.

Now it's your turn. Head over to The Friday Mashup and take the challenge!

Happy Stamping!!


Friday, February 21, 2014

Hexagons, Triangles & Shapes. Oh My!

Good Morning everyone!  It's Friday and that means it's Friday Mashup time. Today was my challenge. When I was looking for an idea, I found that triangles are the new hexagon, however, hexagons are still everywhere! And to top it off, you can make a hexagon with a triangle so the decision was easy.


Here's your Mashup Challenge:
  1. Create a project with "Hexagons".
  2. Create a project with "Triangles". 
  3. or Create a project using "Hexagons" & "Triangles". 

Isn't that such a cute picture above? I absolutely love it. Holly, our web coordinator, always does a great job with the pictures. Anyway, I knew that I wanted to do a scrapbook page with hexagons & triangles. I wasn't sure what pictures to use, but when I was sorting through things I found these.


These were pictures that the photographer made me take with my daughter. 
When I say "made" me I mean it. I don't like being in pictures. 
After it was all said and done, I have to say that I liked the way they turned out.

Now onto the page. I used triangles from the Geometrical Stamp set and stamped them in 
Strawberry Slush, Real Red & Lucky Limeade. How I miss Lucky Limeade. 
Anyway, then I arranged them into hexagons all across the page.


So funny thing. See that white zigzag in the picture above? Guess what that is? It's the piece of paper I punched the triangles out of. I know, funny! It was sitting there on my desk as I was trying to arrange my triangles and I thought, that kinda looks cools, so I added it to the page.

I finished things up with a button and some ribbon. The ribbon is the chevron ribbon in the mini catalog. I just cut it in half and tied a bow.

Well that's my challenge for the day. Now it's your turn to head over to the Friday Mashup 
and get yourself into "shape".

See you next time and Happy Stamping!


Tuesday, February 18, 2014

Stampin' Celebration Sketch

Today's post is a sketch from Stampin' Celebration.

Here is the sketch:


As always, I took the sketch and put a little "twist" on things. 
My color combo is Night of Navy, Smokey Slate & Coastal Cabana.


My most favorite part about this card is the little flower. I basically made my own glitter paper in Coastal Cabana. The technique is called, Burnished Glitter. The idea is that you can make glitter paper in any color you want to. I hope to have a tutorial later this week explaining how to do this.

I hope you enjoy today's card!

Happy Stamping!!


Monday, February 17, 2014

Stamp Organization

Guess, what I did this weekend? That's right I finally got some time to organize my stamps 
the way I really want them.


Don't they look great? Stampin' Up has made it so easy to change all those old stamp sets you have into new uniformed boxes. Everything fits so nicely in my drawer. If you haven't done this yet, 
I would highly recommend it.

I figured I would show you exactly what I did.


So here is the label I made for each stamp set. Stampin' Up was kind enough to provide us a template. You can get the template for the Wood Mount Full size boxes here. Wood Mount Half size boxes.


After you print the labels, stamp on them with the images and black ink. Then as you can see in the photo, there are two sets of marks. I highlighted the ones you should line up with your Stampin' Trimmer. 

NOTE: Cut the top and bottom first. 


This picture shows the opposite side of the picture above.


After you've cut the top & bottom, turn your paper and line up the green bar at the top with the cutter. 
It's really that easy.


This is the end result. By looking at it, you can't even tell that those images weren't printed by Stampin' Up. I'm so excited about the way everything looks!!!


One last thing to keep in mind, before you order your Wood Mount Boxes, (you can order them here) I would suggest you take at least one and make sure all of the stamp sets you want to switch over will fit in the box. Some of them have to go in just right in order to work.

I hope you liked this little tutorial on how to switch all your wood mount stamps to new Wood Mount Boxes. Good Luck with your organizing and always remember

Happy Stamping!!


Friday, February 14, 2014

Happy Friday Mashup!

Happy Friday Mashup Everyone! It's also Valentines Day which makes it a great day as well. Make sure to tell those you love, that you love them!!! It's so important to tell people that we love them. Anyway, enough of the sap, let's get on to today's challenge.


Here's your Mashup Challenge:
  1. Create a project using the "Sketch".
  2. Create a project with "Spritzing / Splattering". 
  3. or Create a project using the "Sketch & Spritzing". 


It's a sketch. I always love a good sketch. The thing I struggle with the most on a card is the layout. The one problem I had with this layout was that I don't have any of the oval framelits. Do you ever do that? You think you don't need something and then a project comes along where you are just kicking yourself that you don't have it. Oh well. We learn to improvise.

Here is my card for the day.


This alligator is having a few friends over for his birthday party! The challenge was to mash the "sketch" and "splattering". I tried to follow the sketch, but I did accomplish the splattering. I used the trusty, old Gorgeous Grunge stamp set. I inked it in Versa mark and then used the Iridescent Ice embossing powder. I like the way it turned out. I also used one of the smaller splatters around the alligator and birds. My color combo is Wild Wasabi, Bermuda Bay, Pumpkin Pie & Strawberry Slush.

Now on this "love"ly day, I want you to head over to The Friday Mashup and see what you can create.

Happy Stamping! 


Thursday, February 13, 2014

Happy Valentines Day! (One Day Early)

So  I know that Valentines Day isn't until tomorrow, but I have to post Friday Mashup stuff tomorrow. In conjunction with Valentines week, I really, really wanted to show you the card I made for my husband.
He is a big fisherman and I thought this card would be perfect.


Ahhhh! Isn't it so cute? I remember, probably from elementary school that we use to make fishes out of hearts. How perfect for a fisherman on Valentines Day. And even better, they are kissing fishes.

So to make this card, I first designed my fish. They consist of two regular hearts (heart punch), one small heart (hearts a flutter framelit) and two mini hearts ( small heart punch). The DSP is in the Spring Catalog and lends it self very well to Valentines Day. It's called Fresh Prints DSP. The cardstock colors I used were Bermuda Bay & Coastal Cabana for the boy fish and Real Red & Strawberry Slush for the girl fish. To make their eyes, I used the 1/2 inch circle punch and the little circle punch that comes in the Itty Bitty Shapes punch pack.

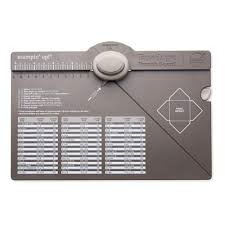
Second, notice that the card is an odd shape. After I made my fish, they didn't fit on a regular sized card, so I went to my trusty Envelope Punch Board, looked at the sizes of cards and picked one that would fit my needs, plus as you know, I was able to make an envelope to go with it.


This up close picture of the fish shows his scales. I used one of the Adorning Accents folders to make the scales. I thought that was a little bit creative. Anyway, I hope you are making a card for you loved ones. 


Enjoy your Valentines Day & Happy Stamping!


Wednesday, February 12, 2014

Somewhere, over the Rainbow........

Happy Wednesday everyone!! It's the middle of the week and I felt like we could all use a little bit of cheering up. Today's post is a challenge from Stampin' Celebration.


Does this picture just make you smile? It's so cheery and bright, plus it lends itself to Valentines Day which brings me to my card. I actually had this idea come to me while I was blow drying my hair. You know all the blood rushing to the head. Anyway, I decided I could make a heart, by using smaller hearts.  It really turned out great.


First I used, Gorgeous Grunge to splatter the back of the card. Next, I punched out little hearts and lined them up. Last, I stamped the sentiment "I Freakin (I left this part off) Love You" from Yippee-Skippee. I also decided it needed some accessorizing so I added some buttons, glitter brads and baker's twine.

Hope you enjoy and Happy Stamping!

Tuesday, February 11, 2014

Teacher, do you love me?

When my 3rd son came home with his Valentines list, he handed it to me and said, 
"Mom, my teacher says anything chocolate will make her happy." Right then I knew that just the regular old Valentine wasn't going to cut it for him. So I went to my happy place and used another Stampin' Up kit.


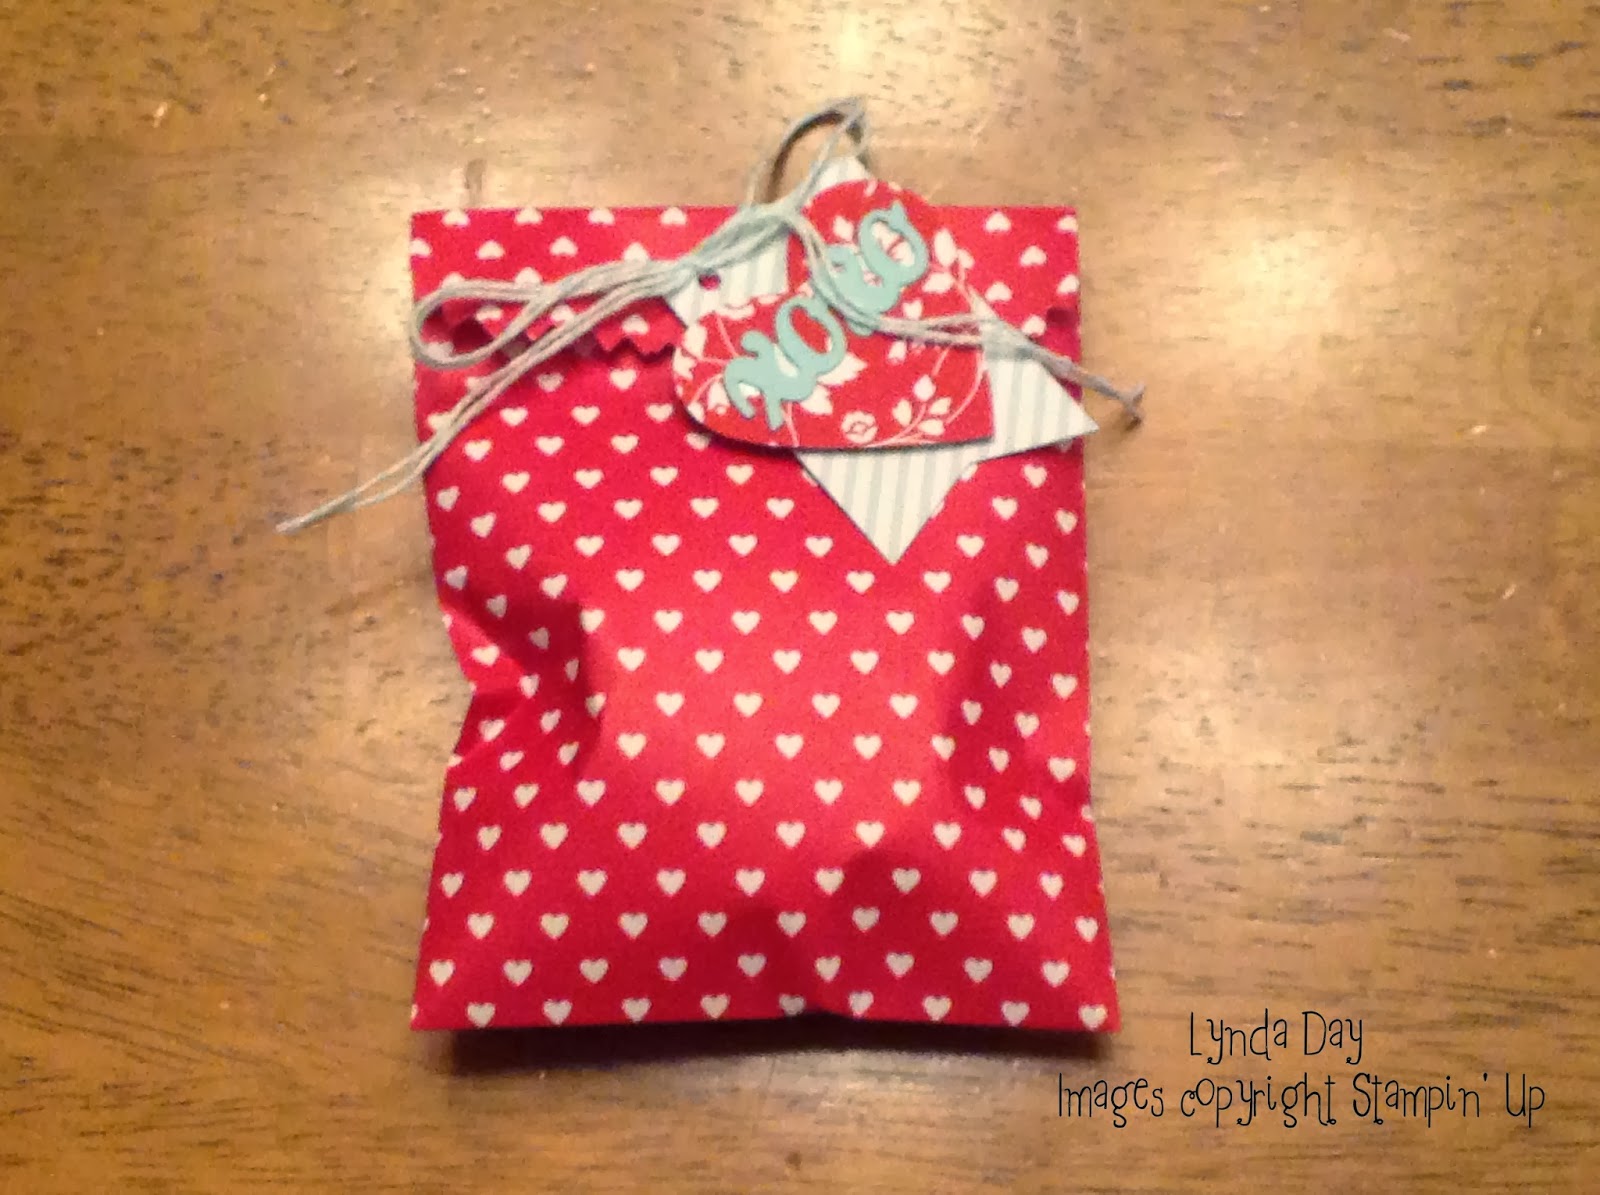
This is the Sweetheart Treat Bags kit. It came with the bags, the baker's twine, & the banner. I added the heart ( a punch) and the XOXO (a framelit). Like the little monsters I showed you yesterday, these were so easy to make!

Inside, it contains 8 Hershey Kisses. I then folded the top over, punched holes and ran the baker's twine through. Note: The pieces of baker's twine are extremely long, so I cut mine in half and used both to double tie it. Next I glued the XOXO to the heart, used a dimensional to put the heart onto the banner and tied the banner on with the string. I used the backside of the banner to put the name of the teacher.


In the end, I had so much fun doing this I actually made more than I needed for my kids' teachers. Doesn't it just make you happy to see all of those together? Remember to take advantage of Stampin' UP's kits. Your time will thank you.

Happy Stamping!!


Monday, February 10, 2014

Little Monster Valentines

Happy Valentines Week Everyone!
This week I am going to try and focus on everything Valentines. For once in my life, I am actually ahead of the game. This weekend, we visited my grandmother so I took the kids' Valentines to work on while we visited.


Some of you are thinking, "Wow, did you go overboard?" Nope, 63 little monsters to be exact. But, here's the great thing, I didn't do them all by myself, my kids helped me. These were so easy to use.


One of the things I love about Stampin' Up, is their kits. They make my life so easy. Basically, I had my kids write their name on the back, put a googly eye on, peel the adhesive sticker and then stick the candy on. The only thing I did was fold the Monster's arms and glue the little heart on. If you have these, I would recommend gluing the heart on because mine kept falling off.

Total, it probably took us 1 1/2 hours to get everything done, but it was great spending time with my kids and they even enjoyed themselves. By the way, did I mention that my kids are all boys? That's right, even boys enjoy paper crafting from time to time even if it's hidden in the form of sending a Valentine!

Good Luck with your Valentines this week and remember,
Happy Stamping!!


Friday, February 7, 2014

Friday Mashup #146

Good Morning Stampers!! Today is Friday. Yeah!!! That means another challenge from The Friday Mashup. Now I first want to say, I loved, loved, loved this challenge. It was a challenge for me. 3D paper piecing is something I have never done before. I also loved this challenge because I actually go to "create" instead of just putting together a quick card.

Here's Today's challenge:


You can see Mariska's Tutorial on the 3-D paper Piecing Technique fromSplitcoaststampers here


Here's your Mashup Challenge:
  1. Create a project with "Cherry Cobbler, Primrose Petals, Soft Sky & Marina Mist."
  2. Create a project using "3-D Paper Piecing"
  3. Or Mash it Up and create a "3-D Paper Piecing Project with the above Colors."

Here's my card:


So for starters, I would really recommend that you watch the video link provided on this challenge. I found it very helpful. Second, I realized when I went to make this card, that I don't have very many "outline" stamps. I bought this one because I fell in love with it when I saw it.

Now the purpose of this challenge is to make your image 3D. It's hard to tell from the angle of the picture, but the tutu itself is 3 layers deep. Don't let the detail of my card intimidate you. Head over to the Friday Mashup blog and see what the others have done as well.

Happy Stamping!